오늘은 Redux를 이용해서 나만의 todolist를 만들어보겠다! 배포는 netlify를 이용해서 배포하였다.
# 완성본

#시연영상
오늘의 중요한 내용은 Redux를 이용하는 것이니 Redux 코드에 대해서 설명해보겠다!
먼저 크게 순서는 이렇게 진행된다.
1. Redux store 설정
2. action 정의
3. reducer 생성
4. 컴포넌트와 Redux 연결
1. Redux store 설정
src 폴더 안에 store 폴더를 만들어서 index.js파일을 생성한 후 store를 생성한다.
<index.js>
// 1. store 생성
import { createStore } from "redux";
// 6. 리듀서 함수 스토어에 연결해주기
import todoReducer from "./reducers";
import { loadState, saveState } from "../utils/localStorage";

const persistedState = loadState();

const store = createStore(todoReducer, persistedState);

store.subscribe(() => {
  saveState({
    todos: store.getState().todos,
    filter: store.getState().filter,
  });
});

export default store;
2. action 정의
store 폴더 안에 action.js 파일을 만들어 action의 type과 action 생성자 함수를 만든다.
<action.js>
// 2. action type 정의
export const ADD_TODO = "ADD_TODO";
export const DELETE_TODO = "DELETE_TODO";
export const TOGGLE_TODO = "TOGGLE_TODO";
export const SET_FILTER = "SET_FILTER";

// 3. action 생성자 함수
export const addTodo = (text) => ({
  type: ADD_TODO,
  payload: {
    id: new Date().getTime(),
    text,
    completed: false,
  },
});

export const deleteTodo = (id) => ({
  type: DELETE_TODO,
  payload: id,
});

export const toggleTodo = (id) => ({
  type: TOGGLE_TODO,
  payload: id,
});

export const setFilter = (filter) => ({
  type: SET_FILTER,
  payload: filter,
});
3. reducer 생성
store 폴더 안에 reducer.js 파일을 만들어 초기값을 세팅해주고 reducer 함수를 작성한다.
<reducer.js>
import { ADD_TODO, DELETE_TODO, SET_FILTER, TOGGLE_TODO } from "./actions";

// 4. 초기값 세팅
const initialState = {
  todos: [],
  filter: "ALL",
};

// 5. 리듀서 함수 작성
const todoReducer = (state = initialState, action) => {
  switch (action.type) {
    case ADD_TODO:
      return {
        ...state,
        todos: [...state.todos, action.payload],
      };

    case DELETE_TODO:
      return {
        ...state,
        todos: state.todos.filter((todo) => todo.id !== action.payload),
      };

    case TOGGLE_TODO:
      return {
        ...state,
        todos: state.todos.map((todo) =>
          todo.id === action.payload
            ? { ...todo, completed: !todo.completed }
            : todo
        ),
      };

    case SET_FILTER:
      return {
        ...state,
        filter: action.payload,
      };

    default:
      return state;
  }
};

export default todoReducer;
4. 컴포넌트와 redux 연결
reducer 함수를 store에 연결해주고,
<index.js>
// 1. store 생성
import { createStore } from "redux";
// 6. 리듀서 함수 스토어에 연결해주기
import todoReducer from "./reducers";
import { loadState, saveState } from "../utils/localStorage";

const persistedState = loadState();

const store = createStore(todoReducer, persistedState);

store.subscribe(() => {
  saveState({
    todos: store.getState().todos,
    filter: store.getState().filter,
  });
});

export default store;
스토어를 컴포넌트에 연결해준다.
<App.jsx>
import React from "react";
import { BrowserRouter, Route, Routes } from "react-router-dom";
import Home from "./pages/Home";
import TodoList from "./pages/TodoList";
import { Provider } from "react-redux";
import store from "./store";
import "./App.css";

// 7. 리덕스 스토어 리액트에 연결해주기
const App = () => {
  return (
    <Provider store={store}>
      <BrowserRouter>
        <Routes>
          <Route path="/" element={<Home />} />
          <Route path="/todos" element={<TodoList />} />
        </Routes>
      </BrowserRouter>
    </Provider>
  );
};

export default App;
밑에 코드는 Home이다. useNavigate 훅을 사용해 "/todos"로 이동할 수 있다.
import React from "react";
import { useNavigate } from "react-router-dom";
import "../assets/Home.css";
const Home = () => {
const navigate = useNavigate();
const goToTodoList = () => {
navigate("/todos");
};
return (
<div className="home-container">
<div className="item-container">
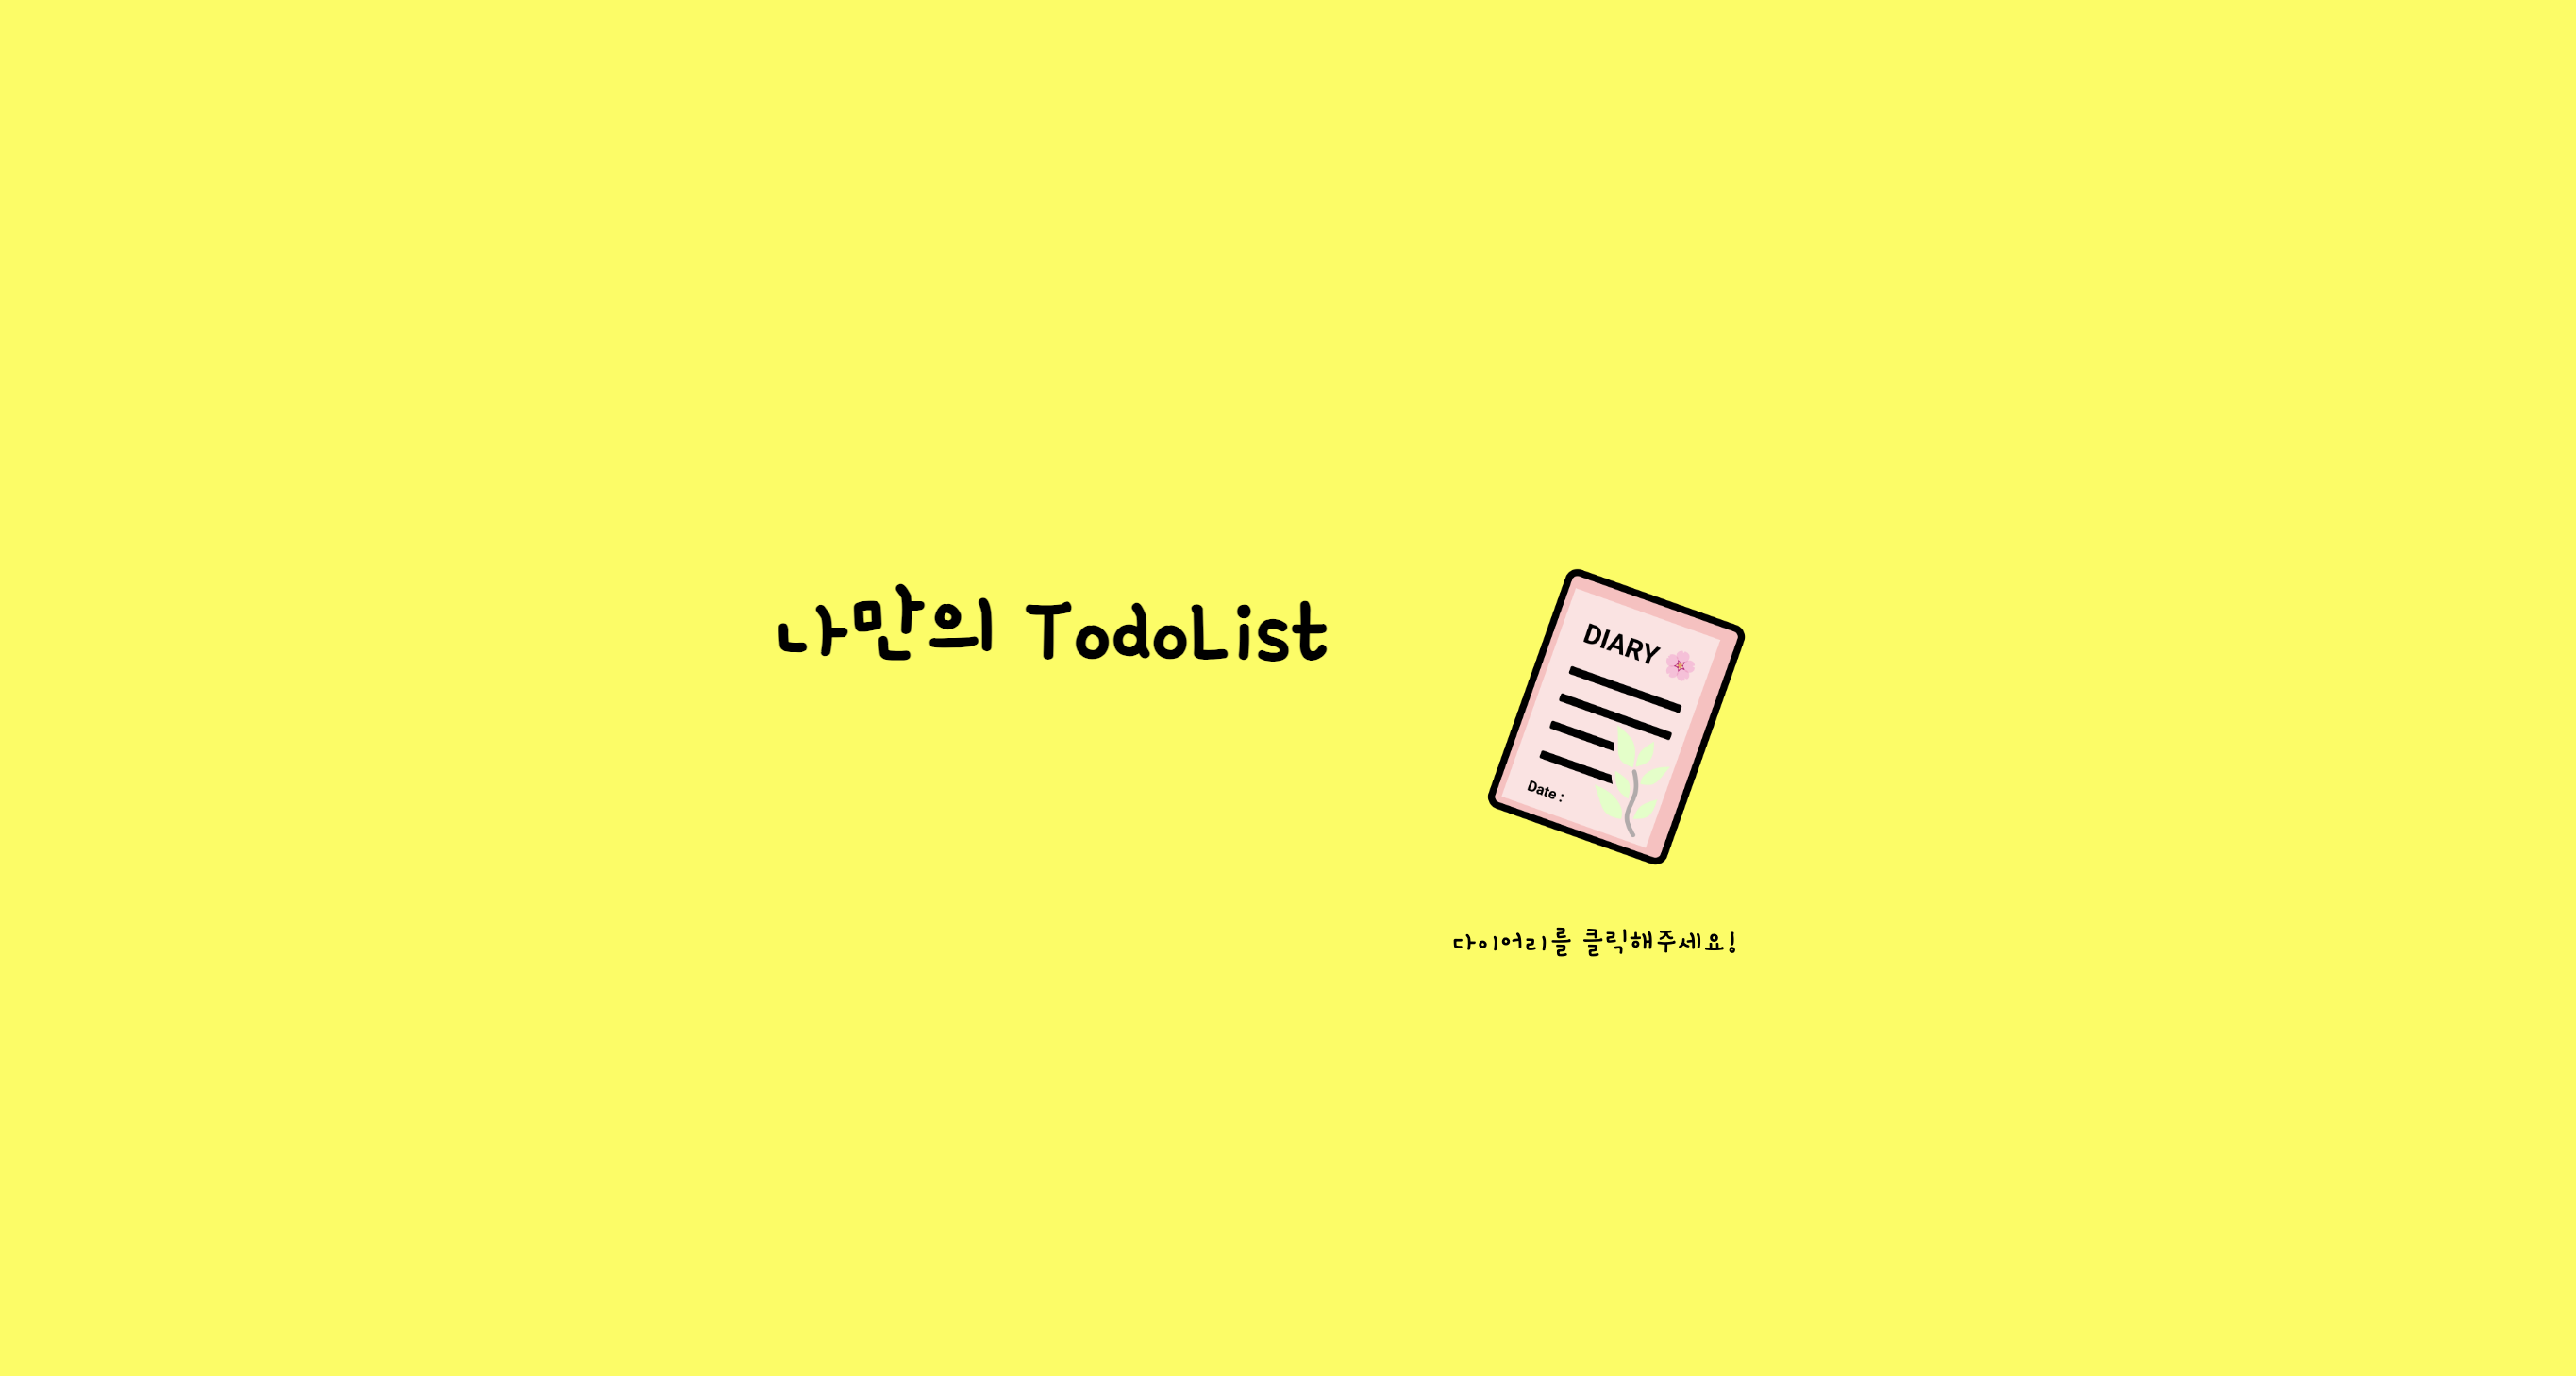
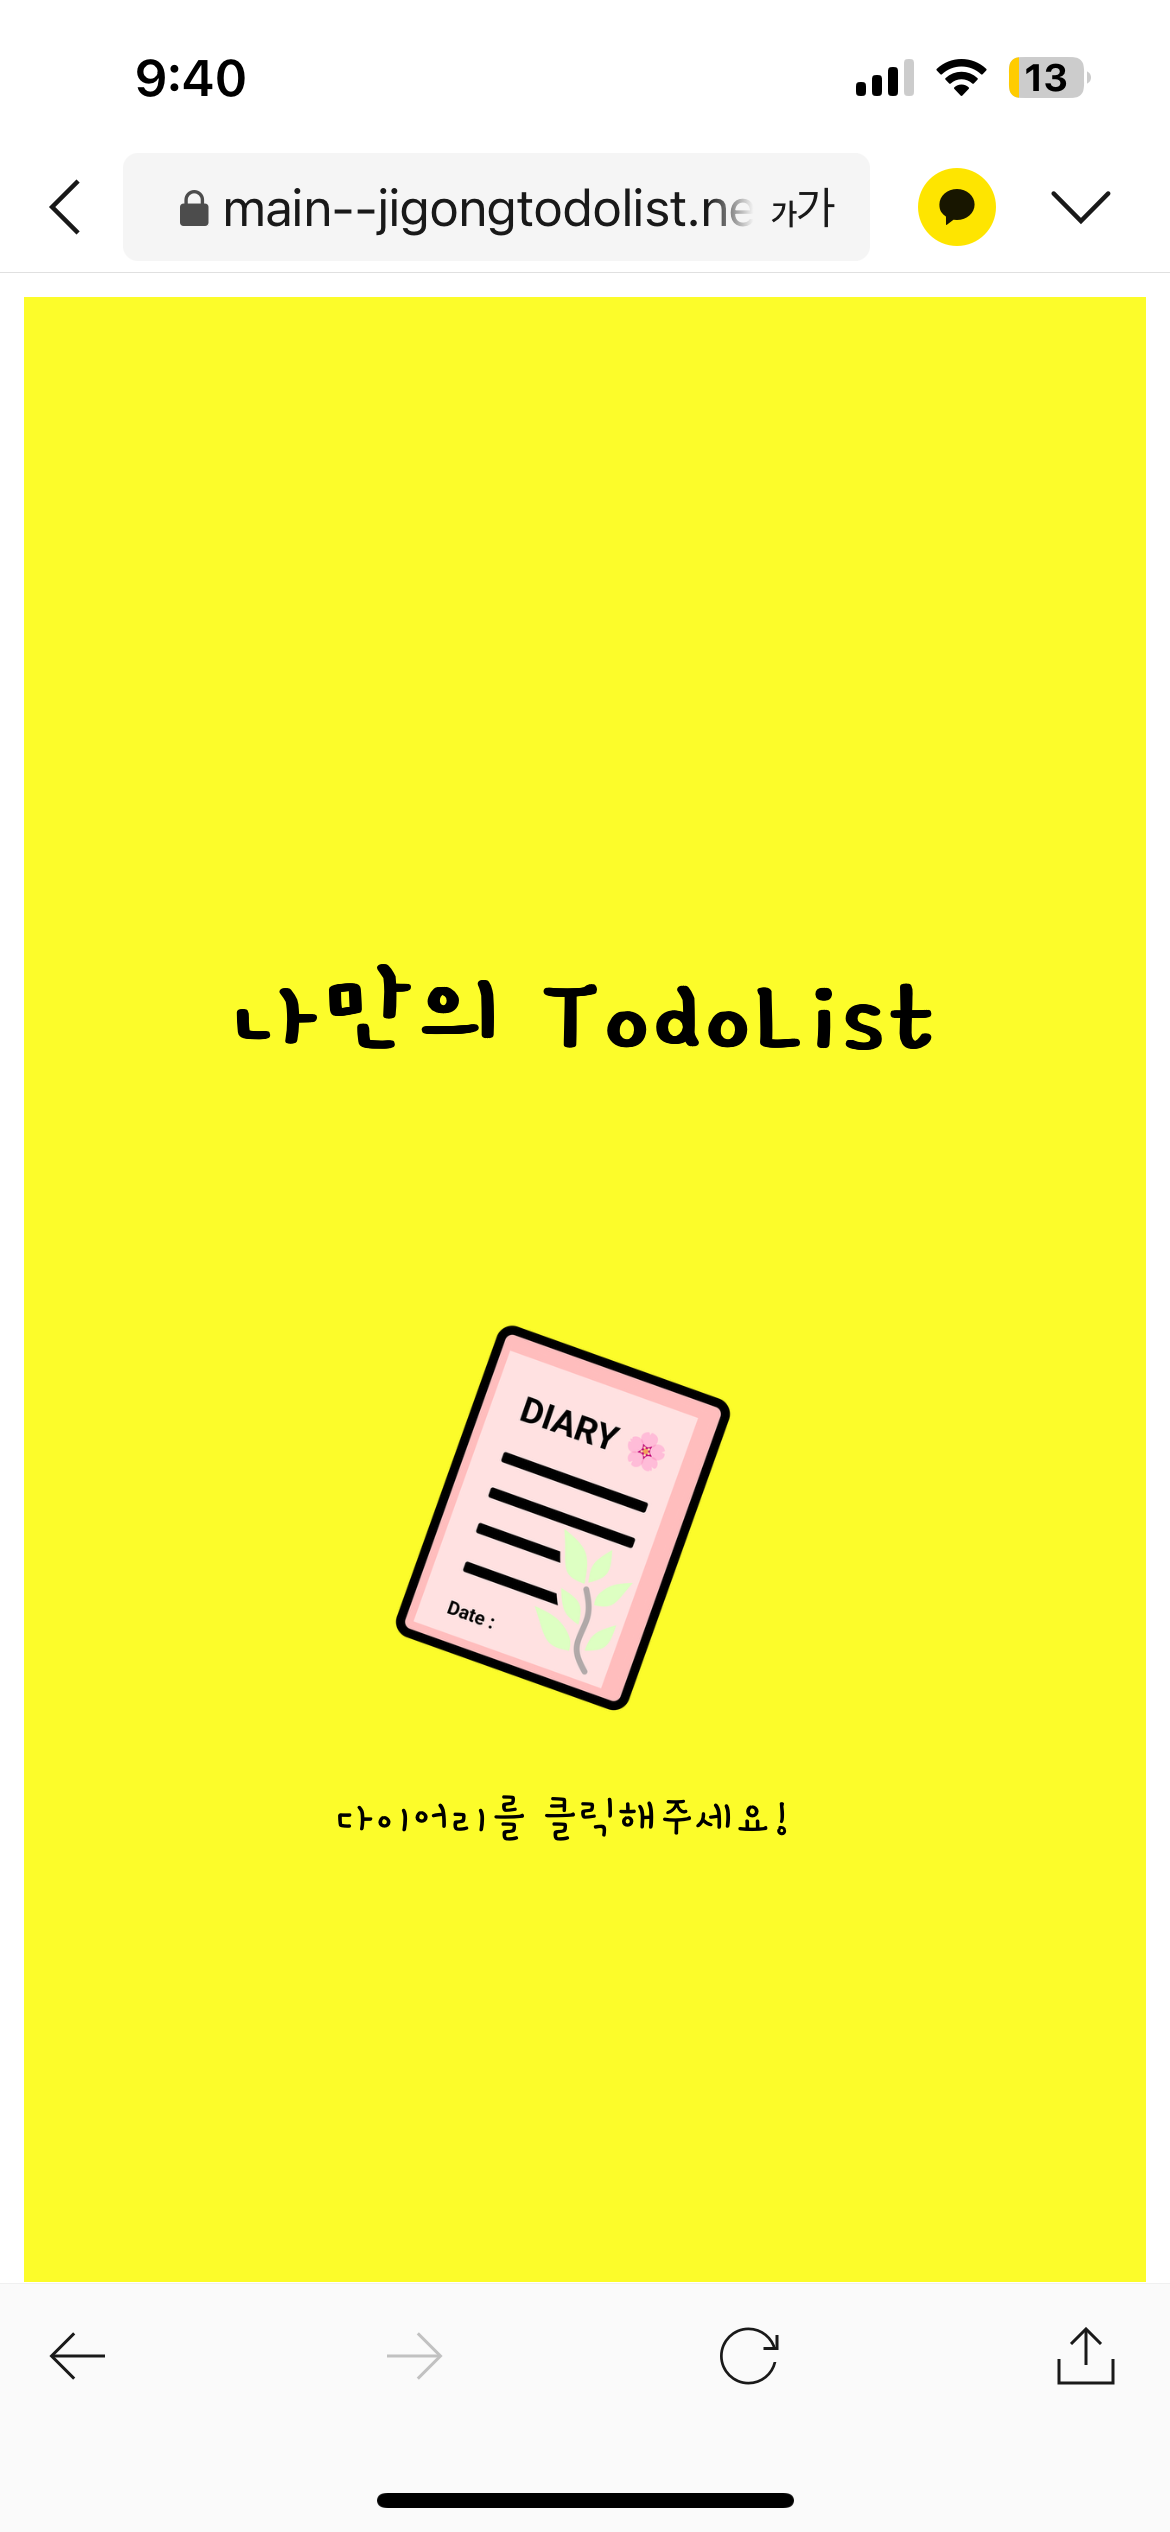
<h1>나만의 TodoList</h1>
<div className="diary">
<img src="/diary.png" alt="book" onClick={goToTodoList} />
<span>다이어리를 클릭해주세요!</span>
</div>
</div>
</div>
);
};
export default Home;
밑에 코드는 Todolist이다. useNavigate 훅을 사용해 home으로 갈 수 있고 dispatch를 사용해 action 객체를 인자로 전달한다.
import React, { useState } from "react";
import { useNavigate } from "react-router-dom";
import { useSelector, useDispatch } from "react-redux";
import TodoItem from "../components/TodoItem";
import { addTodo, setFilter } from "../store/actions";
import "../assets/TodoList.css";
const TodoList = () => {
const [newTodo, setNewTodo] = useState("");
const navigate = useNavigate();
const todos = useSelector((state) => state.todos);
const filter = useSelector((state) => state.filter);
const dispatch = useDispatch();
const goToHome = () => {
navigate("/");
};
const handleInputChange = (e) => {
setNewTodo(e.target.value);
};
const handleAdd = () => {
if (newTodo.trim() !== "") {
dispatch(addTodo(newTodo));
setNewTodo("");
}
};
const handleFilterChange = (newFilter) => {
dispatch(setFilter(newFilter));
};
const filteredTodos = todos.filter((todo) => {
if (filter === "COMPLETED") return todo.completed;
if (filter === "ACTIVE") return !todo.completed;
return true;
});
return (
<div className="background">
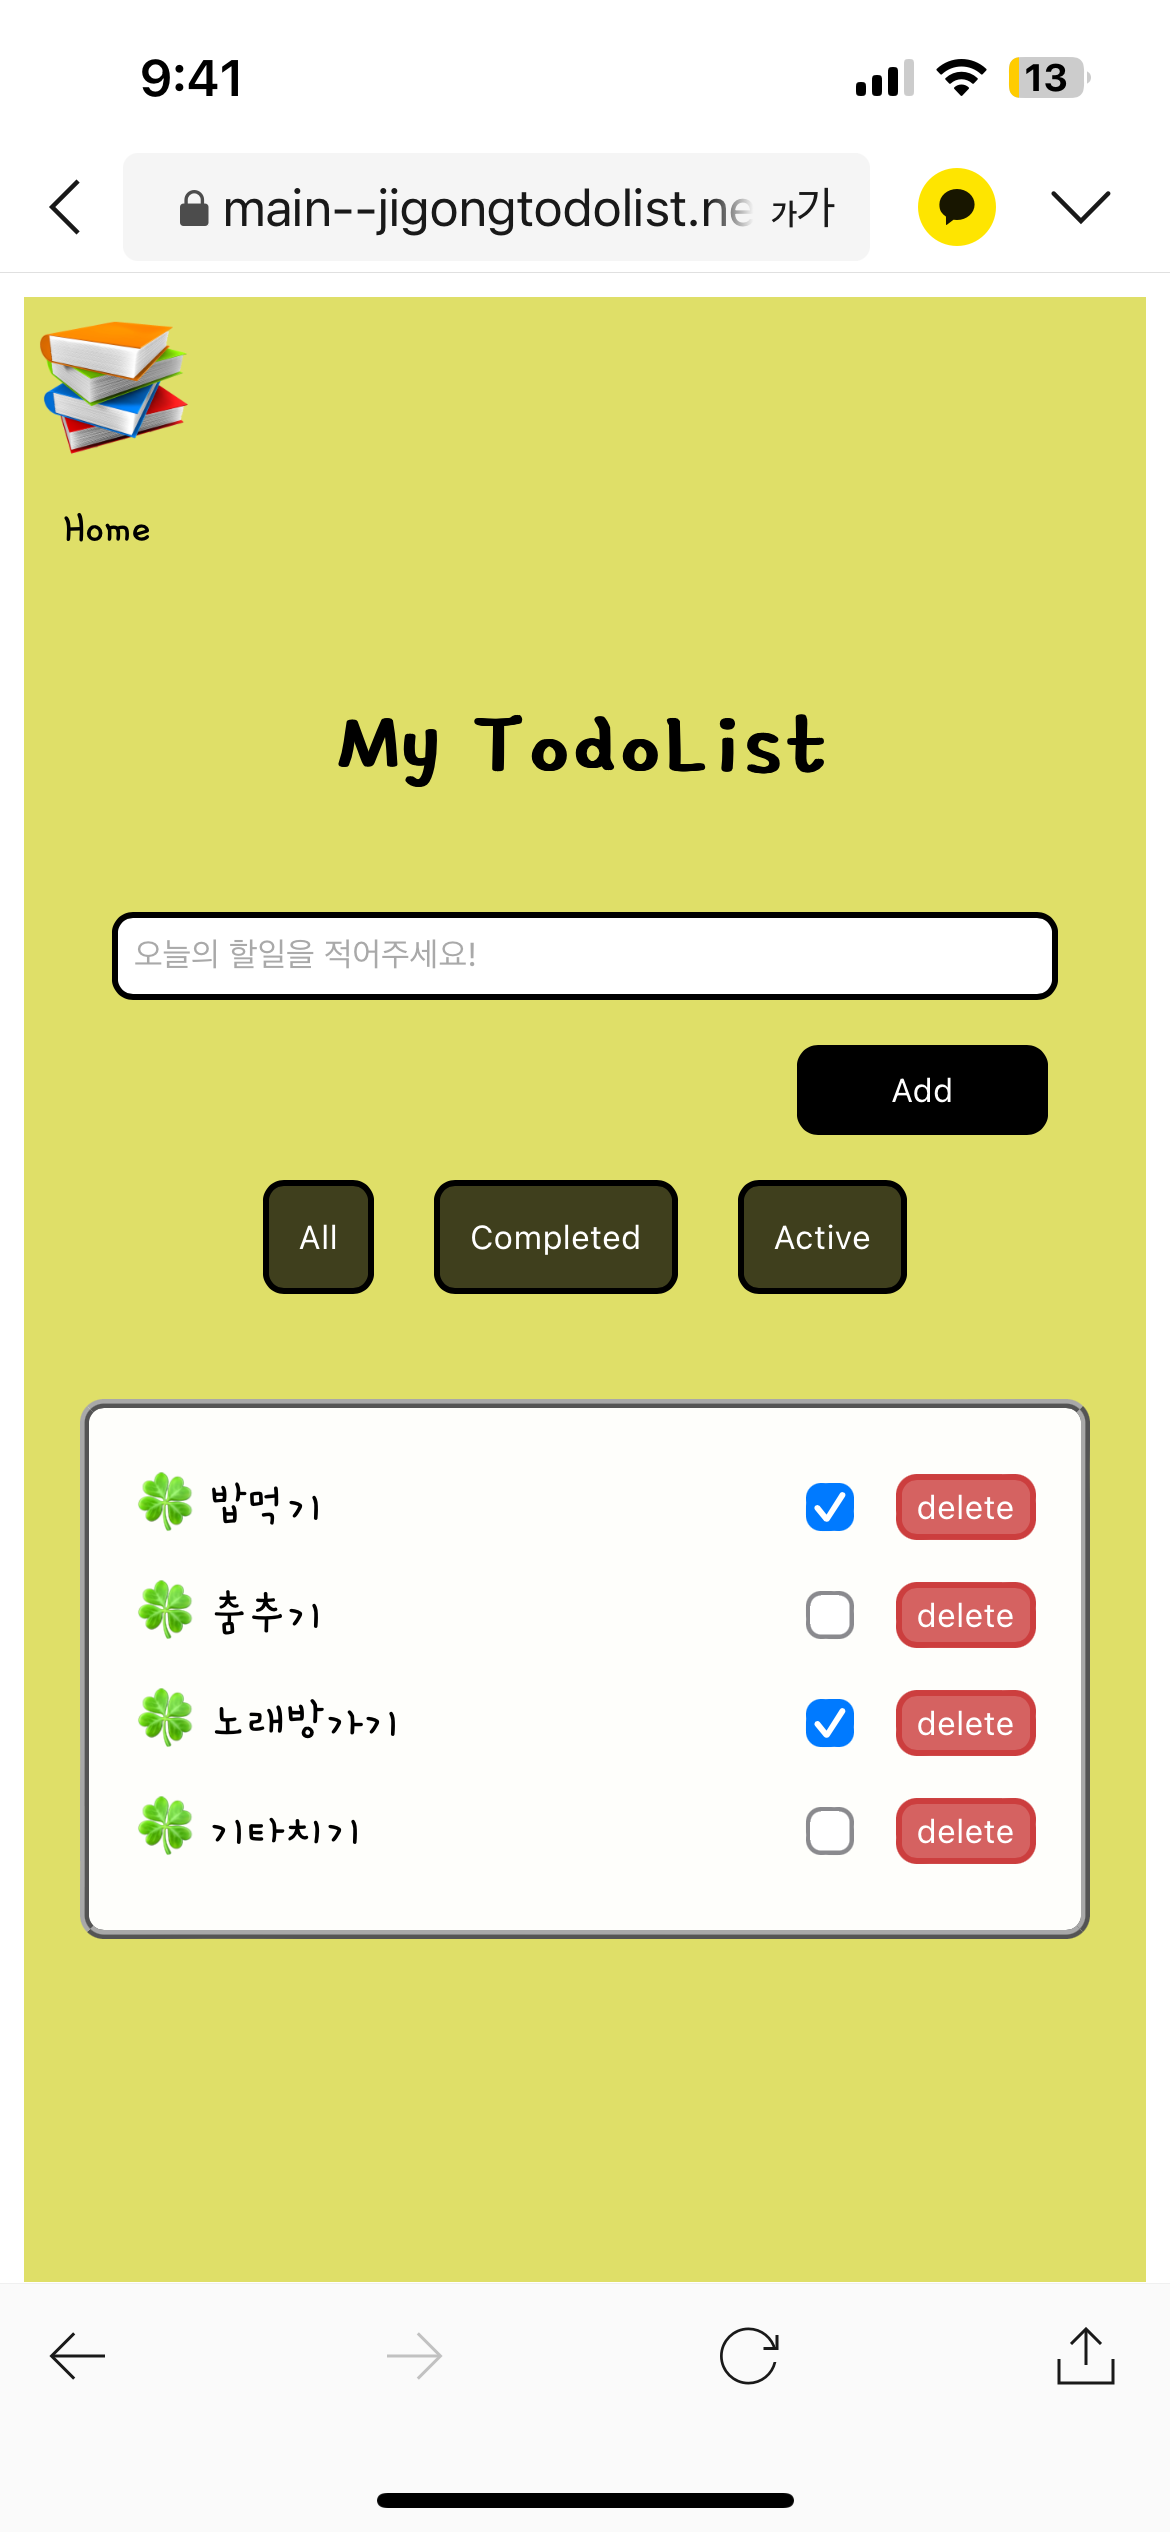
<img className="book" src="/book.png" alt="book" onClick={goToHome} />{" "}
<br />
<span className="Home">Home</span>
<div className="todo-container">
<h1>My TodoList</h1>
<div className="input-container">
<input
type="text"
placeholder="오늘의 할일을 적어주세요!"
value={newTodo}
onChange={handleInputChange}
/>
<button onClick={handleAdd}>Add</button>
</div>
<div className="threebtns">
<button onClick={() => handleFilterChange("ALL")}>All</button>
<button onClick={() => handleFilterChange("COMPLETED")}>
Completed
</button>
<button onClick={() => handleFilterChange("ACTIVE")}>Active</button>
</div>
<div className="list-container">
{filteredTodos.map((todo) => (
<TodoItem key={todo.id} todo={todo} />
))}
</div>
</div>
</div>
);
};
export default TodoList;
마지막으로 TodoItem.jsx이다. 이 파일은 TodoList의 자식 컴포넌트이다. TodoList.jsx에서 Add 버튼을 누르면 Todolist가 추가되어 map 매서드를 통해 받은 하나의 todo를 화면에 보여주는 컴포넌트이다.
import React from "react";
import { deleteTodo, toggleTodo } from "../store/actions";
import { useDispatch } from "react-redux";
import "../assets/TodoItem.css";

const TodoItem = ({ todo }) => {
  const dispatch = useDispatch();
  return (
    <div className="todolist">
      <span>🍀 {todo.text}</span>
      <input
        type="checkbox"
        checked={todo.completed}
        onChange={() => dispatch(toggleTodo(todo.id))}
      />
      <button onClick={() => dispatch(deleteTodo(todo.id))}>delete</button>
    </div>
  );
};

export default TodoItem;
.
.
.
# Redux를 사용하면서 어려웠던 부분 해결해나가기!
1. Redux 사용하기
Redux를 처음 써보니 너무 복잡했다. 특히 action, reducer, store라는 새로운 개념들을 이해하는 것이 어려웠다. 그래서 Redux 공식 문서를 차근차근 읽어보고, 아주 간단한 것부터 하나씩 만들어보면서 연습했다. 다른 생활코딩에서 무료 강의인 'Redux' 강의도 들어보고 Redux 사용해서 나만의 프로젝트도 진행했다. 오늘 이렇게 TodoList를 Reux를 사용해서 만들어보니 어느정도 익숙해진 것 같다!
2. 새로고침하면 데이터가 유지되지 않는 문제점
페이지를 새로고침하면 데이터가 유지되도록 '로컬 스토리지'를 사용해보았다. 하지만 Redux 상태를 로컬 스토리지에 저장하고 불러오는 로직을 구현하는데 시간이 걸렸다. 이를 해결하기 위해 Redux의 subscribe 매서드를 활용하여 상태 변화를 감지하고, 변경된 상태를 로컬 스토리지에 저장하는 방식을 채택했다!
3. 컴포넌트 구조 설계
처음에는 store와 action, reducer를 따로 구분하지 않고 하나의 컴포넌트에 코드를 작성하니 너무 복잡해졌다. 이를 해결하기 위해 store라는 폴더를 만들어 index.js, actions.js, reducer.js 파일로 구분해서 코드를 작성하니 훨씬 깔끔해져서 코드 가독성이 좋아졌다.

'개인과제' 카테고리의 다른 글
| 로그인 기능 구현하기 (0) | 2024.08.27 |
|---|---|
| 리액트로 만든 나만의 포켓몬 도감: 일주일간의 도전과 성장 (4) | 2024.08.26 |
| Context API로 Props Drilling 해결하기 (0) | 2024.08.21 |
| 올림픽 메달 트레커 만들기! (0) | 2024.08.14 |
| 나만의 TodoList 만들어보기 (0) | 2024.08.13 |